On this page
1. Download the current ExifCleaner release #
Get version 4.5.0 from the official release page. It provides Windows, Apple Silicon and Intel Mac, and Linux downloads. Choose the one for your computer and use the release's download-verification instructions.
Start with a photo exported for sharing. Keep the camera original in your normal archive. This walkthrough uses the application's copy-saving route, so you can compare the submitted image with the resulting file without replacing it.
Put a single JPEG or PNG in a working folder for the first pass. That keeps the result easy to identify. Don't begin by dropping your entire photo archive: the task is to prepare a sharing copy, and the first file lets you check the settings against that task.
The empty application should offer file and folder intake. These controls and the labels below are confirmed in the current English interface strings. Choose English if you want the wording to match this guide.
2. Set up copies and preservation before adding files #
Open Settings and turn on Save as copy. Current new installations default to copies, but an older installation can retain its previous preference. Check it explicitly before intake.
Review Preserve orientation, Preserve color profile and Preserve resolution. The release notes explain the orientation and color controls and the newer DPI preservation option. Choose them according to the delivery: a photo needs to display upright, and a print-ready export can need its recorded resolution.
Preserving those rendering details means some information remains by choice. Decide what you need before processing. If the delivery asks for a specific field to remain, use the selective-editor comparison to choose the right workflow.
Close the settings panel. The intake area should describe copy output. Read that description before choosing the photo; it's a quick check that the application is about to write the kind of result you intended.
3. Add the photo and let cleaning finish #
Use Choose files… to select the JPEG or PNG, or drag it into the drop area. Processing begins when you add the files.
Wait for the file's result to finish. The current application reports outcomes for cleaned, unchanged, already-clean or refused files, as described in its 4.1 release. A completed batch counter alone isn't the decision about whether this photo is ready.
For the first pass, focus on the row for the file you chose. Read the result and look at its before/after counts. If the row reports an error, stop here and use the troubleshooting information below. Sending a file whose cleaning failed defeats the purpose of this step.
You should now have a finished result associated with the selected filename. That gives you a clear item to inspect before you add more pictures.
4. Expand the result and inspect the remaining fields #
Expand the file row to see the metadata details. The inspector separates fields removed from fields still present. Check the groups you care about, such as location or author information, against the sharing requirement.
Don't use the total field count as the whole check. A lower number tells you something changed, but it doesn't tell you whether the field you wanted removed is gone. Conversely, a rendering detail you deliberately preserved can remain without making the operation a mistake.
If the result is unchanged, read the fields and outcome before proceeding. The current interface distinguishes finding no removable metadata from measuring no removal. Those are different reasons to pause and inspect the file.
For a difficult container or camera format, our ExifCleaner vs ExifToolGUI format discussion explains the limits. If you need a second reader, ExifTool provides a separate inspection route through its official documentation.
5. Find the cleaned copy and open the picture #
Use the row's cleaned-copy reveal control to open its location in your file manager. The 4.0.1 release documents the returned, collision-safe _cleaned path and the corrected reveal destination.
Open that returned file in your usual image viewer. Check that the picture looks as intended, including orientation and color. Identify the result by its actual path, because another run can need a different filename when a cleaned copy already exists.
Move the finished sharing file into the folder you will deliver or upload from. Give that folder a clear purpose so you don't accidentally pick the source image when the CMS file chooser opens.
You should now have a viewable cleaned copy in the delivery location. The file you share is that result, and the original stays in your archive.
6. Repeat with a folder and review each outcome #
Once the first file matches the requirement, use Choose folder… or drag a folder into the application. The official README documents recursive folder handling. Choose a folder containing the exports for this delivery.
Read the intake summary for unsupported files or unreadable folders. Then review the outcomes after processing, including errors and unchanged files. A folder can contain several formats, so the success of the first JPEG doesn't settle the rest of the batch.
Keep the cleaned results together for the handoff. If a file fails, separate it from the ready set and resolve it before upload. For a selective policy, ExifToolGUI offers another desktop route; for phone sharing, Scrambled Exif has a different workflow.
ExifCleaner errors and format problems #
A MicrosoftPhoto warning stops an older version
An August 2026 report described version 4.2.1 treating a minor MicrosoftPhoto URI warning as a failed read. The 4.3 release fixes that warning handling. Update to the current release before repeating the same operation.
AVIF color-profile fields remain after removal
In a September 2026 follow-up, the maintainer found EXIF/GPS removal working on an AVIF sample while ICC fields remained. Turning off profile preservation didn't solve it, and the issue was closed as not planned. If those fields must disappear, prepare a supported sharing export and inspect that output instead of repeatedly toggling the same setting.
Troubleshooting table #
| Problem | Cause to check | Fix |
|---|---|---|
| Minor MicrosoftPhoto warning blocks reading | Older warning handling | Update to 4.3 or later, then retry |
| AVIF profile remains | Documented ICC removal behavior | Use another sharing export and inspect it |
| No cleaned result appears | Unsupported intake, refusal or write failure | Read the file outcome and resolve that cause before sharing |
| A field you expected to remove remains | Preservation setting or format constraint | Inspect the field; choose selective editing or another export when needed |
| Several similarly named copies exist | Repeated runs require collision-safe output names | Use the file-manager destination returned for this run |
Variations #
Prepare a print-ready sharing copy
Decide whether print resolution and the color profile belong in the delivery before choosing preservation settings. Then open the returned file in the application that will use it. A metadata cleanup step doesn't replace the visual check for that final destination.
Clean the next website image batch
Create a folder for the exports used in that particular page or update. Process it after the image edits are finished, inspect the outcomes and upload from the ready folder. If you edit the pictures again, prepare and review the new exports through the same sequence.
Switch to selected-field removal
When the brief names individual fields to retain, make that policy explicit and choose a selective editor. Our free photo metadata removers list includes the field-oriented and developer choices. A short written requirement is easier to follow than guessing why some metadata should remain.
How to remove photo metadata with ExifCleaner: final checks #
- Copy output was selected before intake.
- Preservation choices match the delivery requirement.
- Each file outcome was reviewed.
- The fields of concern were inspected.
- The returned picture opens and displays correctly.
- The delivery folder contains the reviewed results.
Next steps #
Use the photo metadata remover shortlist to choose another device workflow. For field-level control, read ExifCleaner vs ExifToolGUI; the ExifCleaner project details links back to its official project.
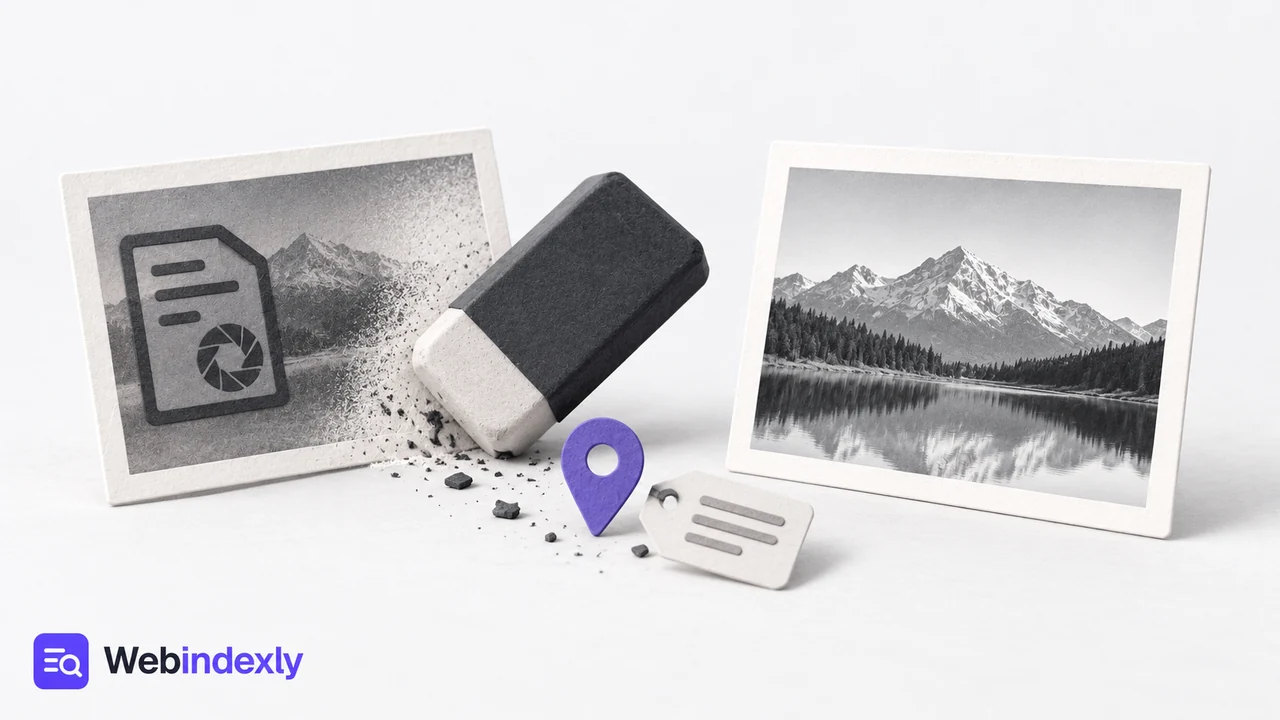
Featured illustration: WebIndexly, created with OpenAI image generation.